Nailing the Bunny
A private side project by Marcel Padilla - TU Berlin - 2020
Abstract
Grab some whiteboard, hammer some nails into it, and connect the nails to form the visualization of a 3D mesh. This is about as minimal as things can get. My goal was to physically recreate this 2D mesh representation of the familiar 3D bunny. I present here the short story of how this project turned out.
Design
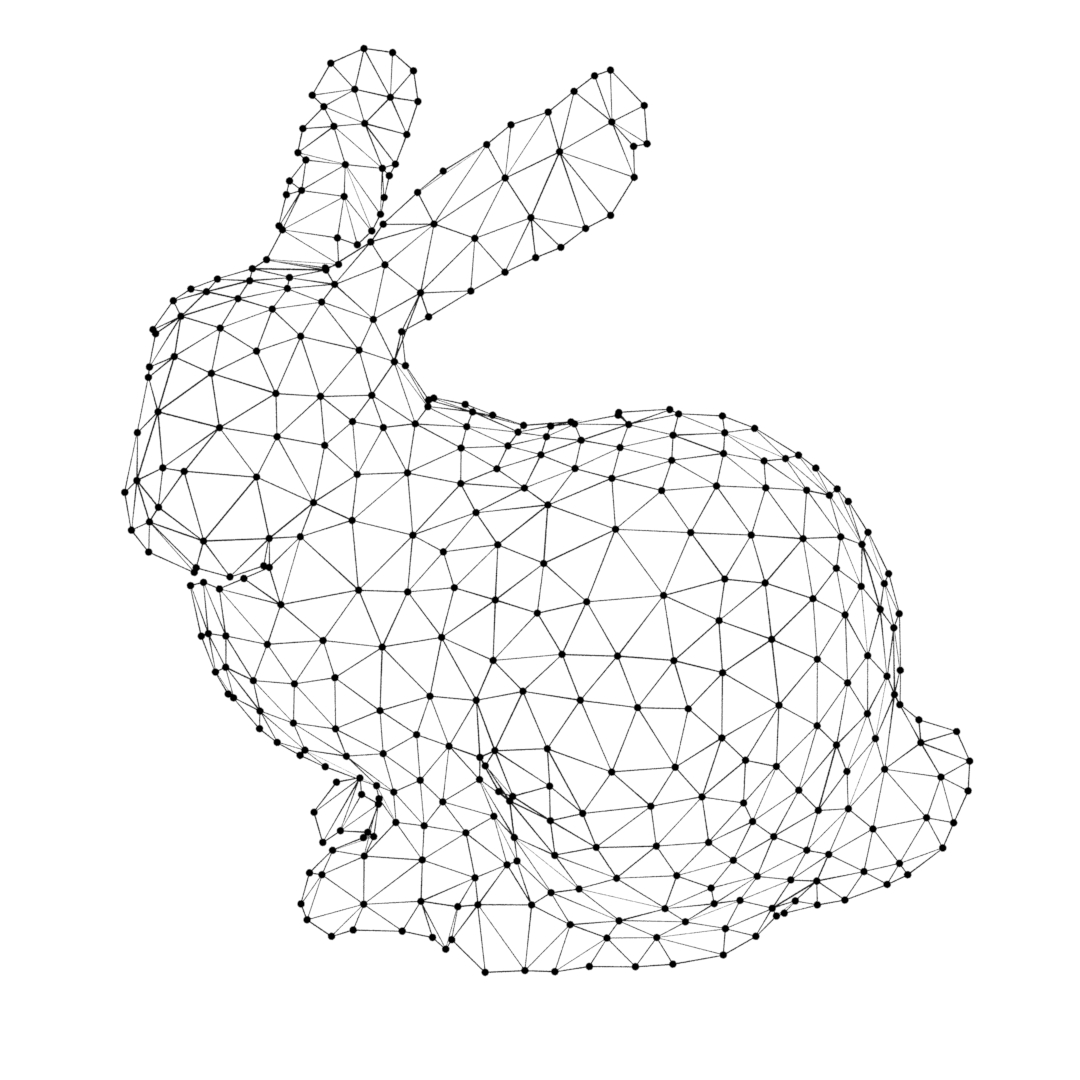
Launch Houdini and remesh the bunny to a low polygon mesh to stay sane during this project. Then delete all faces/points/edges that are not facing the camera. Project it onto the plane and copy some nails into the mesh points. The virtual creation of this project was really straightforward and simple.
Virtual Setup
Once all the nails were hammered in, I could connect each of them using lines. Originally, I was set to use a thin black string for this. However, I quickly noticed that would take too much time, so instead, I drew the lines with a black fine liner.
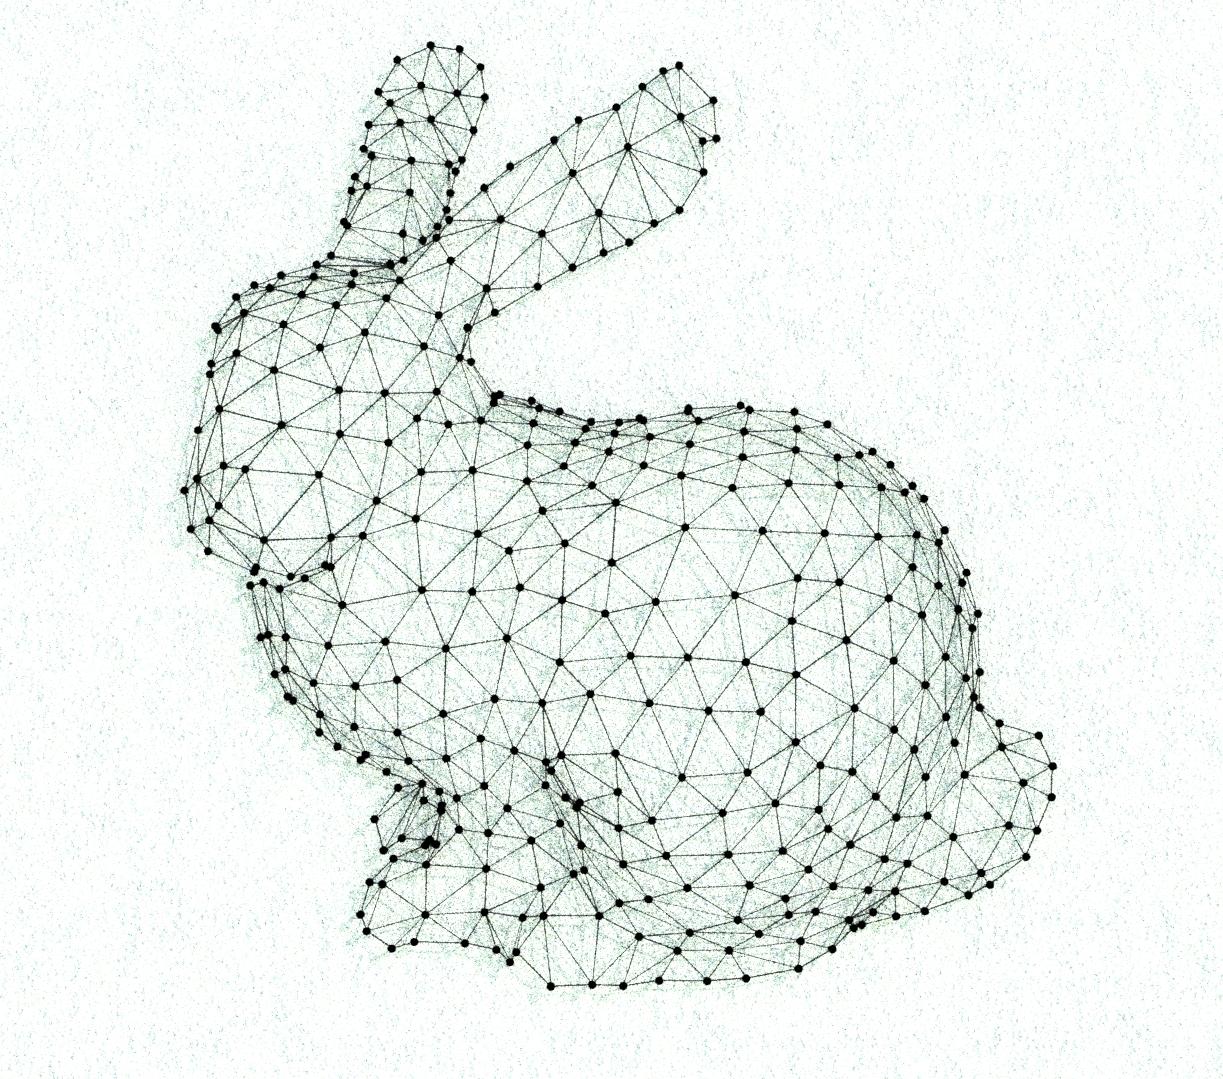
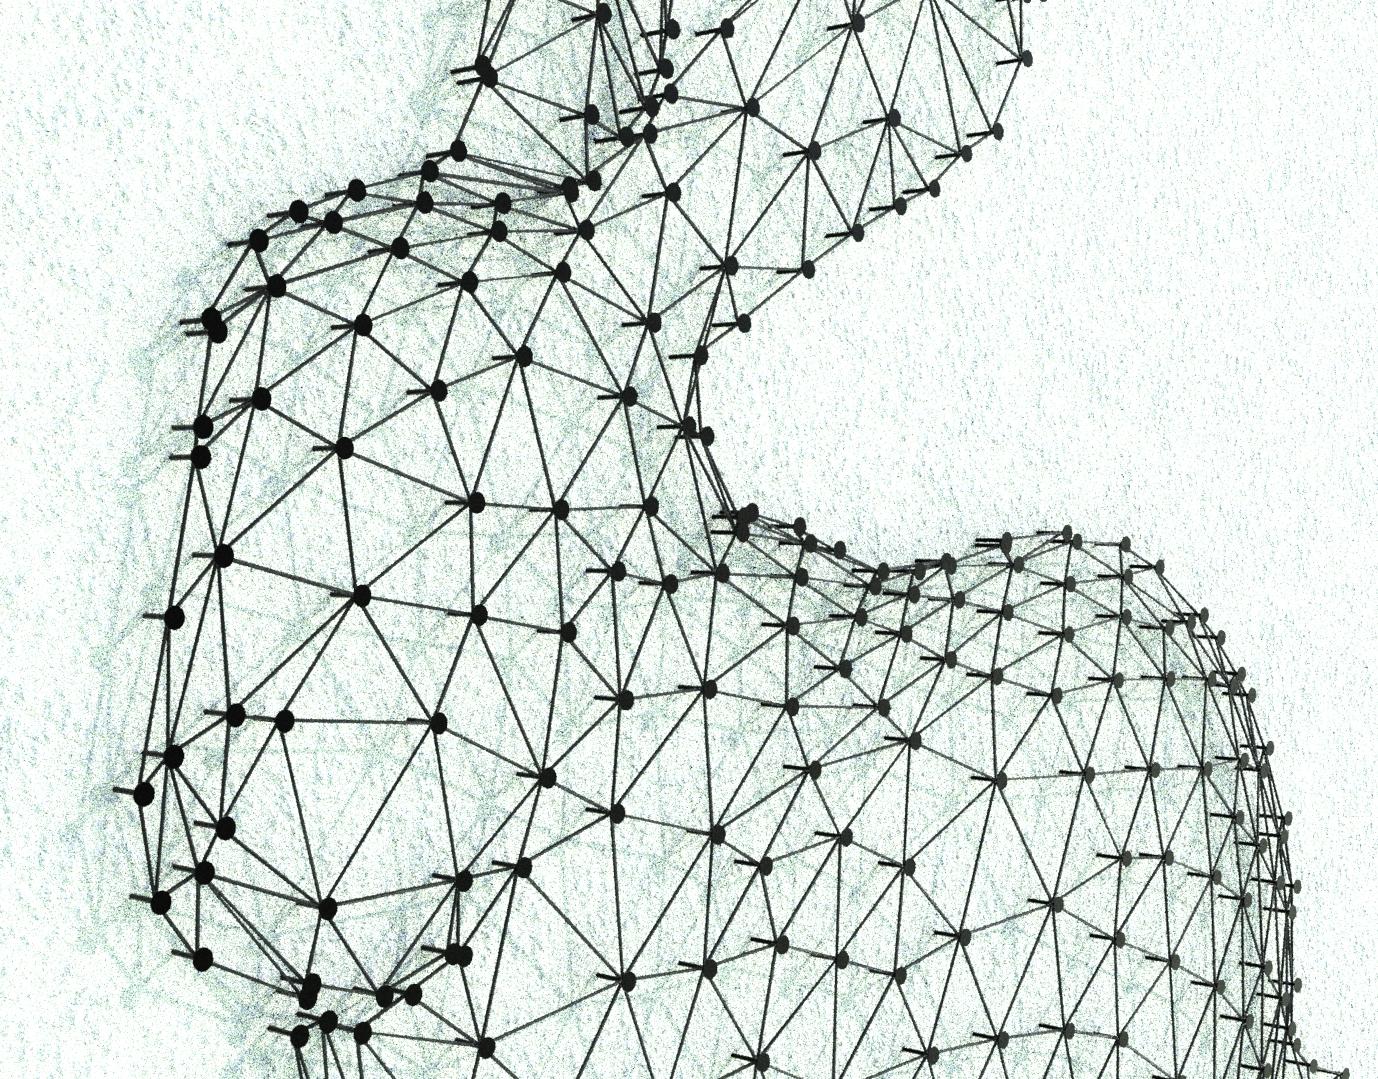
The virtual version of the project rendered.
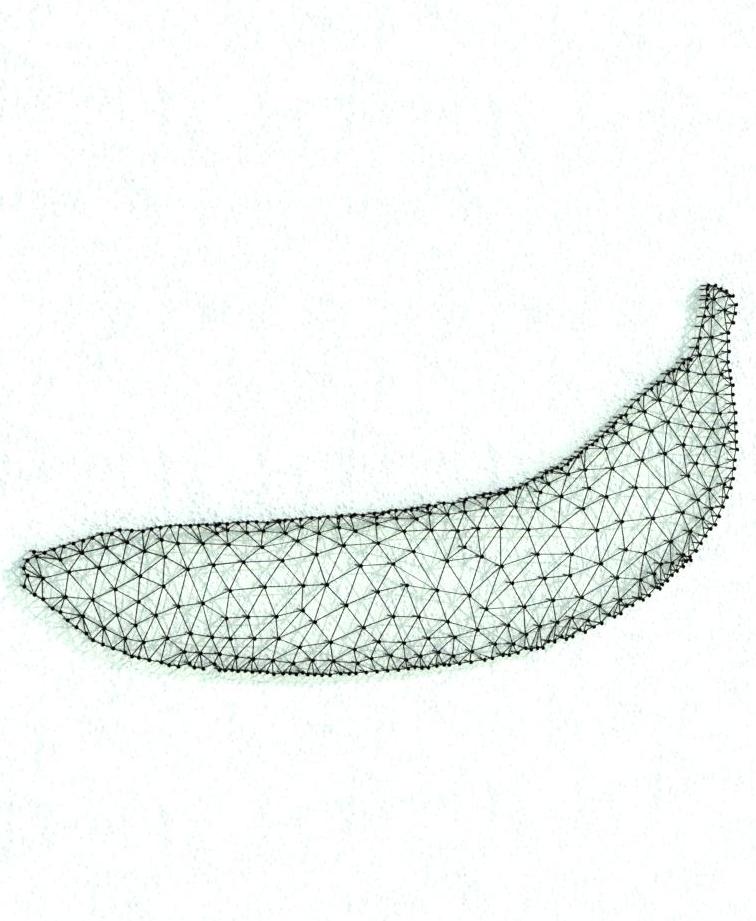
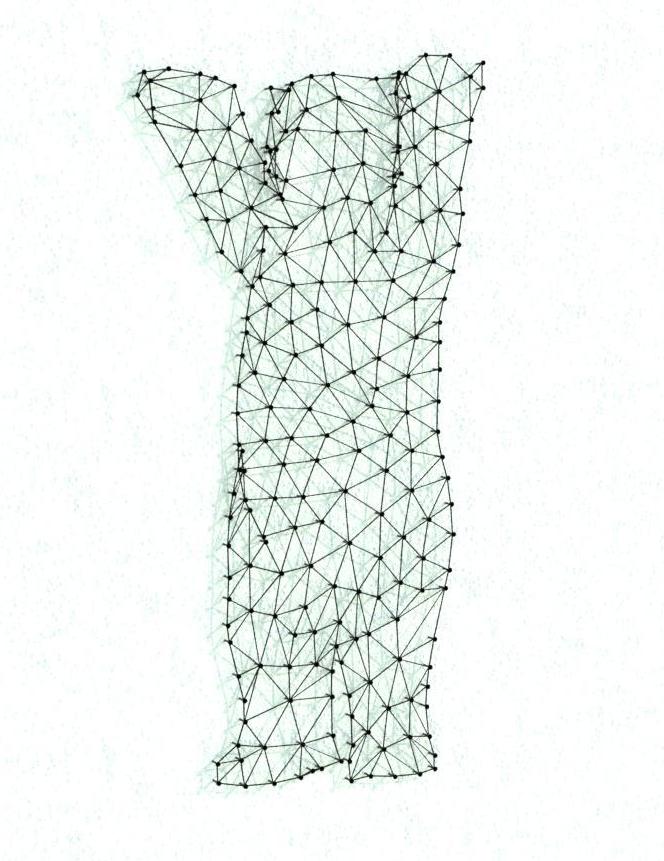
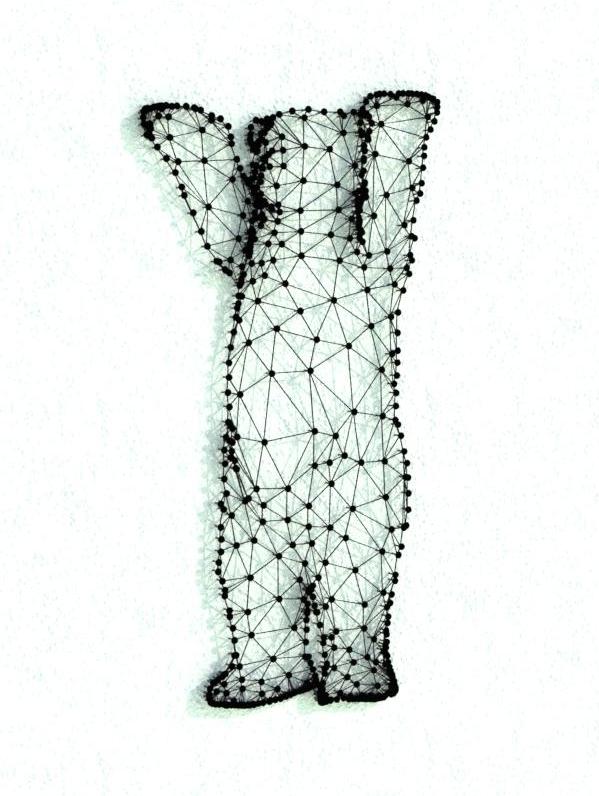
A banana and the Mathon bear processed using the same method.
Finding the Right Mesh
I also attempted to remesh according to different criteria. After all, the density of triangles influences our perception of depth. In the end, the natural 3D remeshing of similar triangle sizes (in 3D) gave the best results.
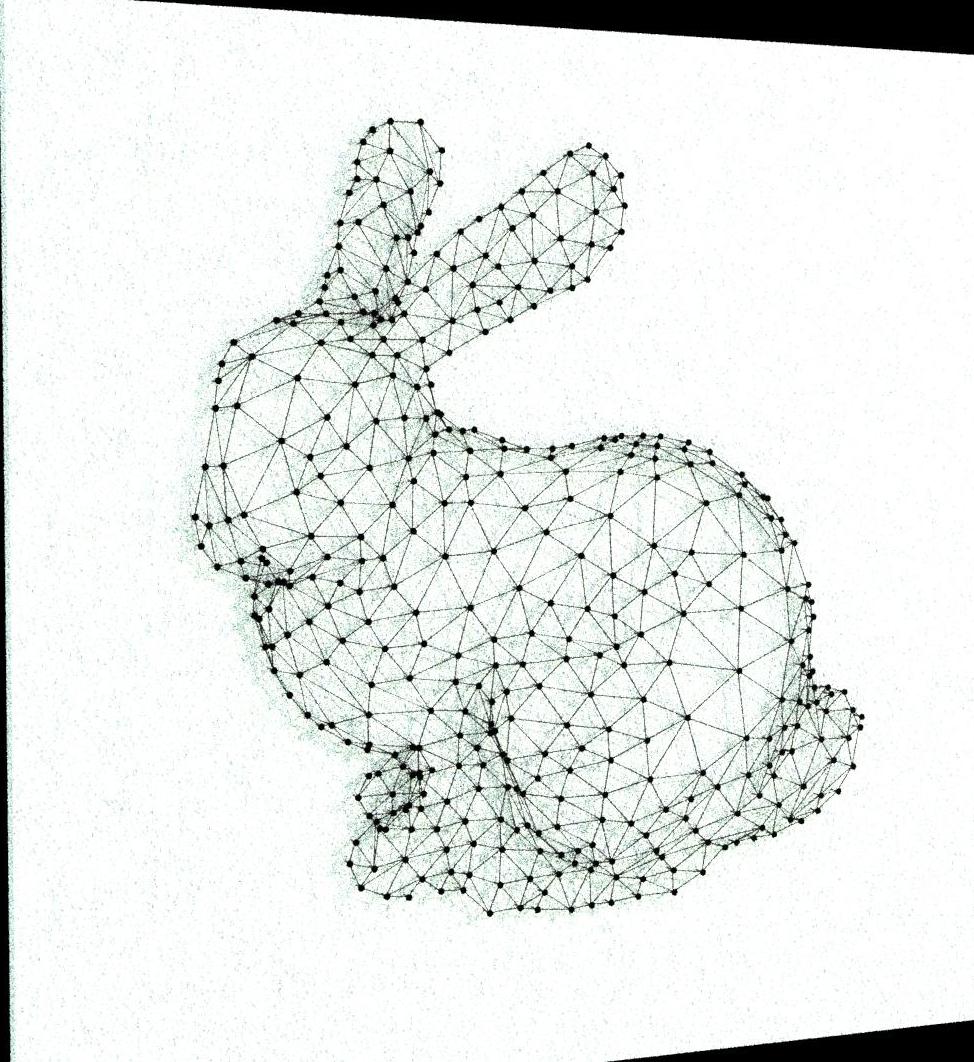
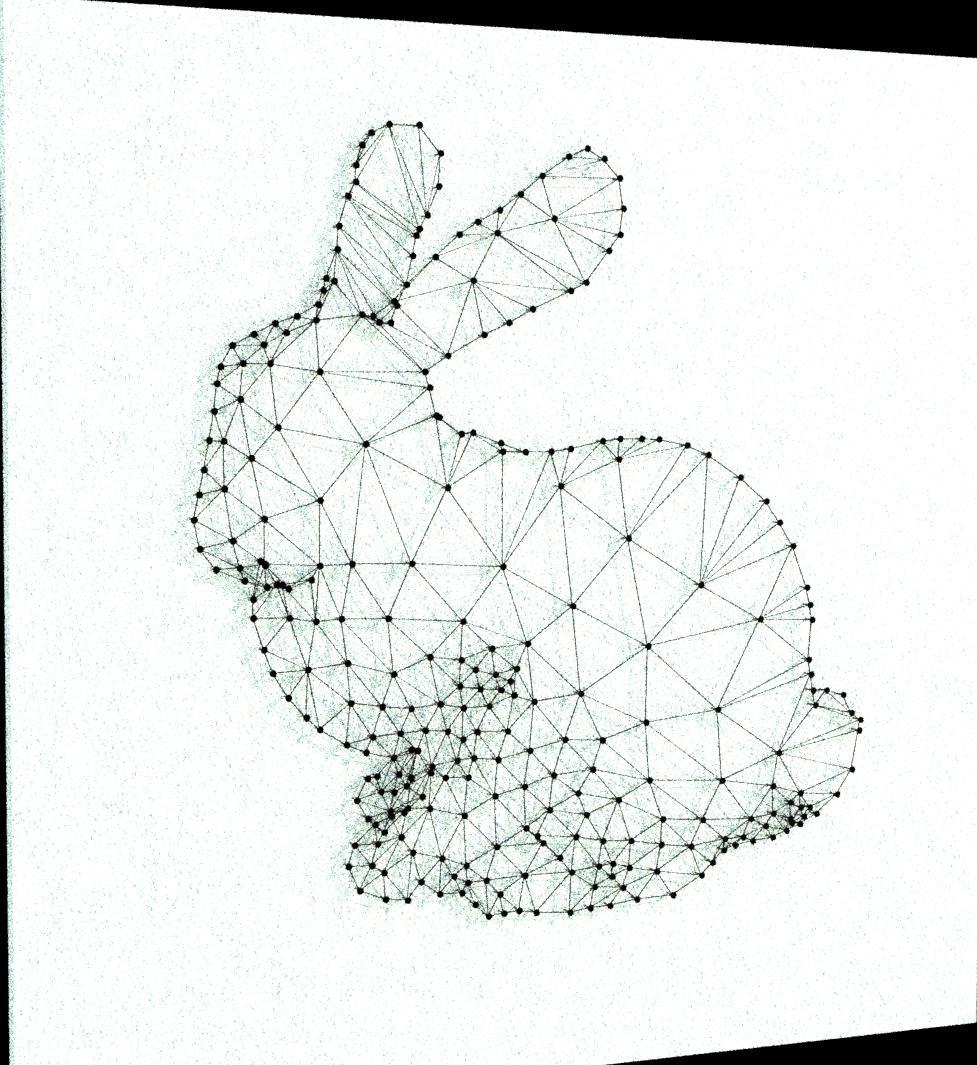
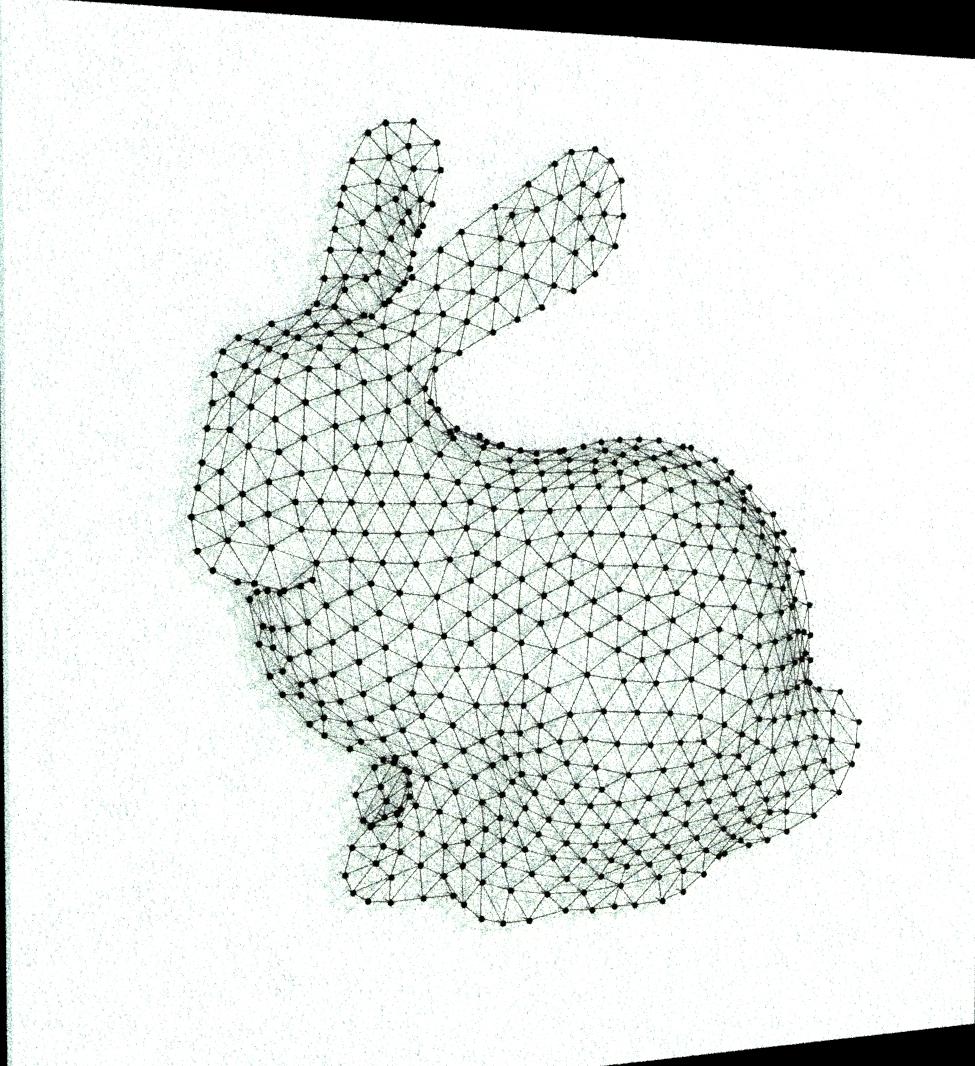
Various versions of the bunny with different remeshing techniques. Left: 3D similar triangles. Middle: curvature dependent. Right: 2D similar triangles.
Mapping and Building
Next came the dreaded physical part. To get the mapping well onto the board, I simply used a projector. After projecting the image, I marked the dots with a pencil, then connected the dots using black lines. Originally, I planned to use string but found it too complex, so I stuck to drawing.
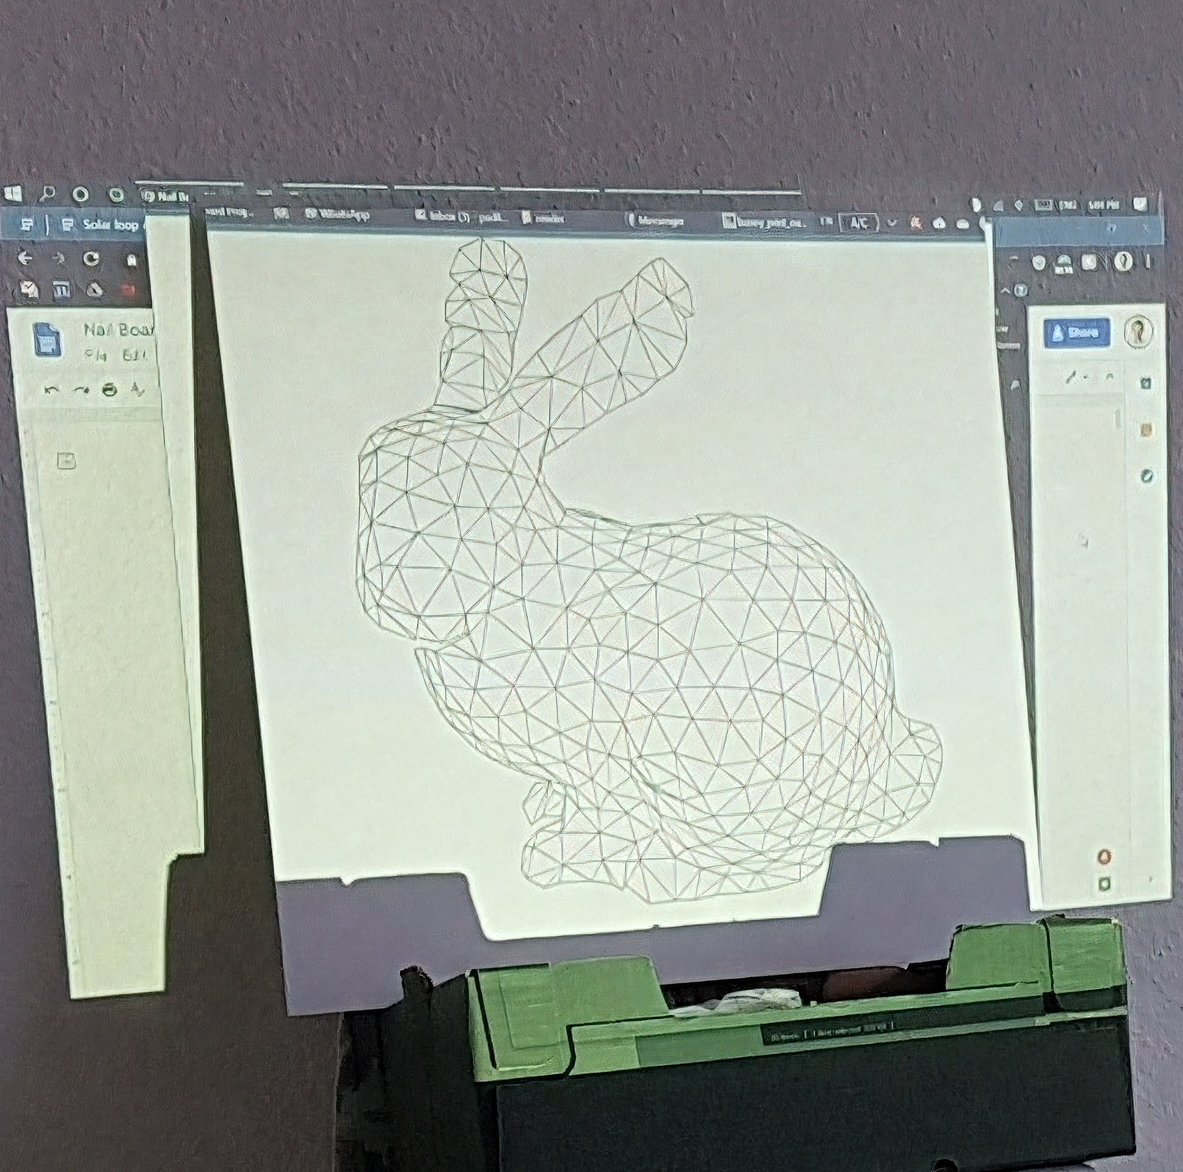
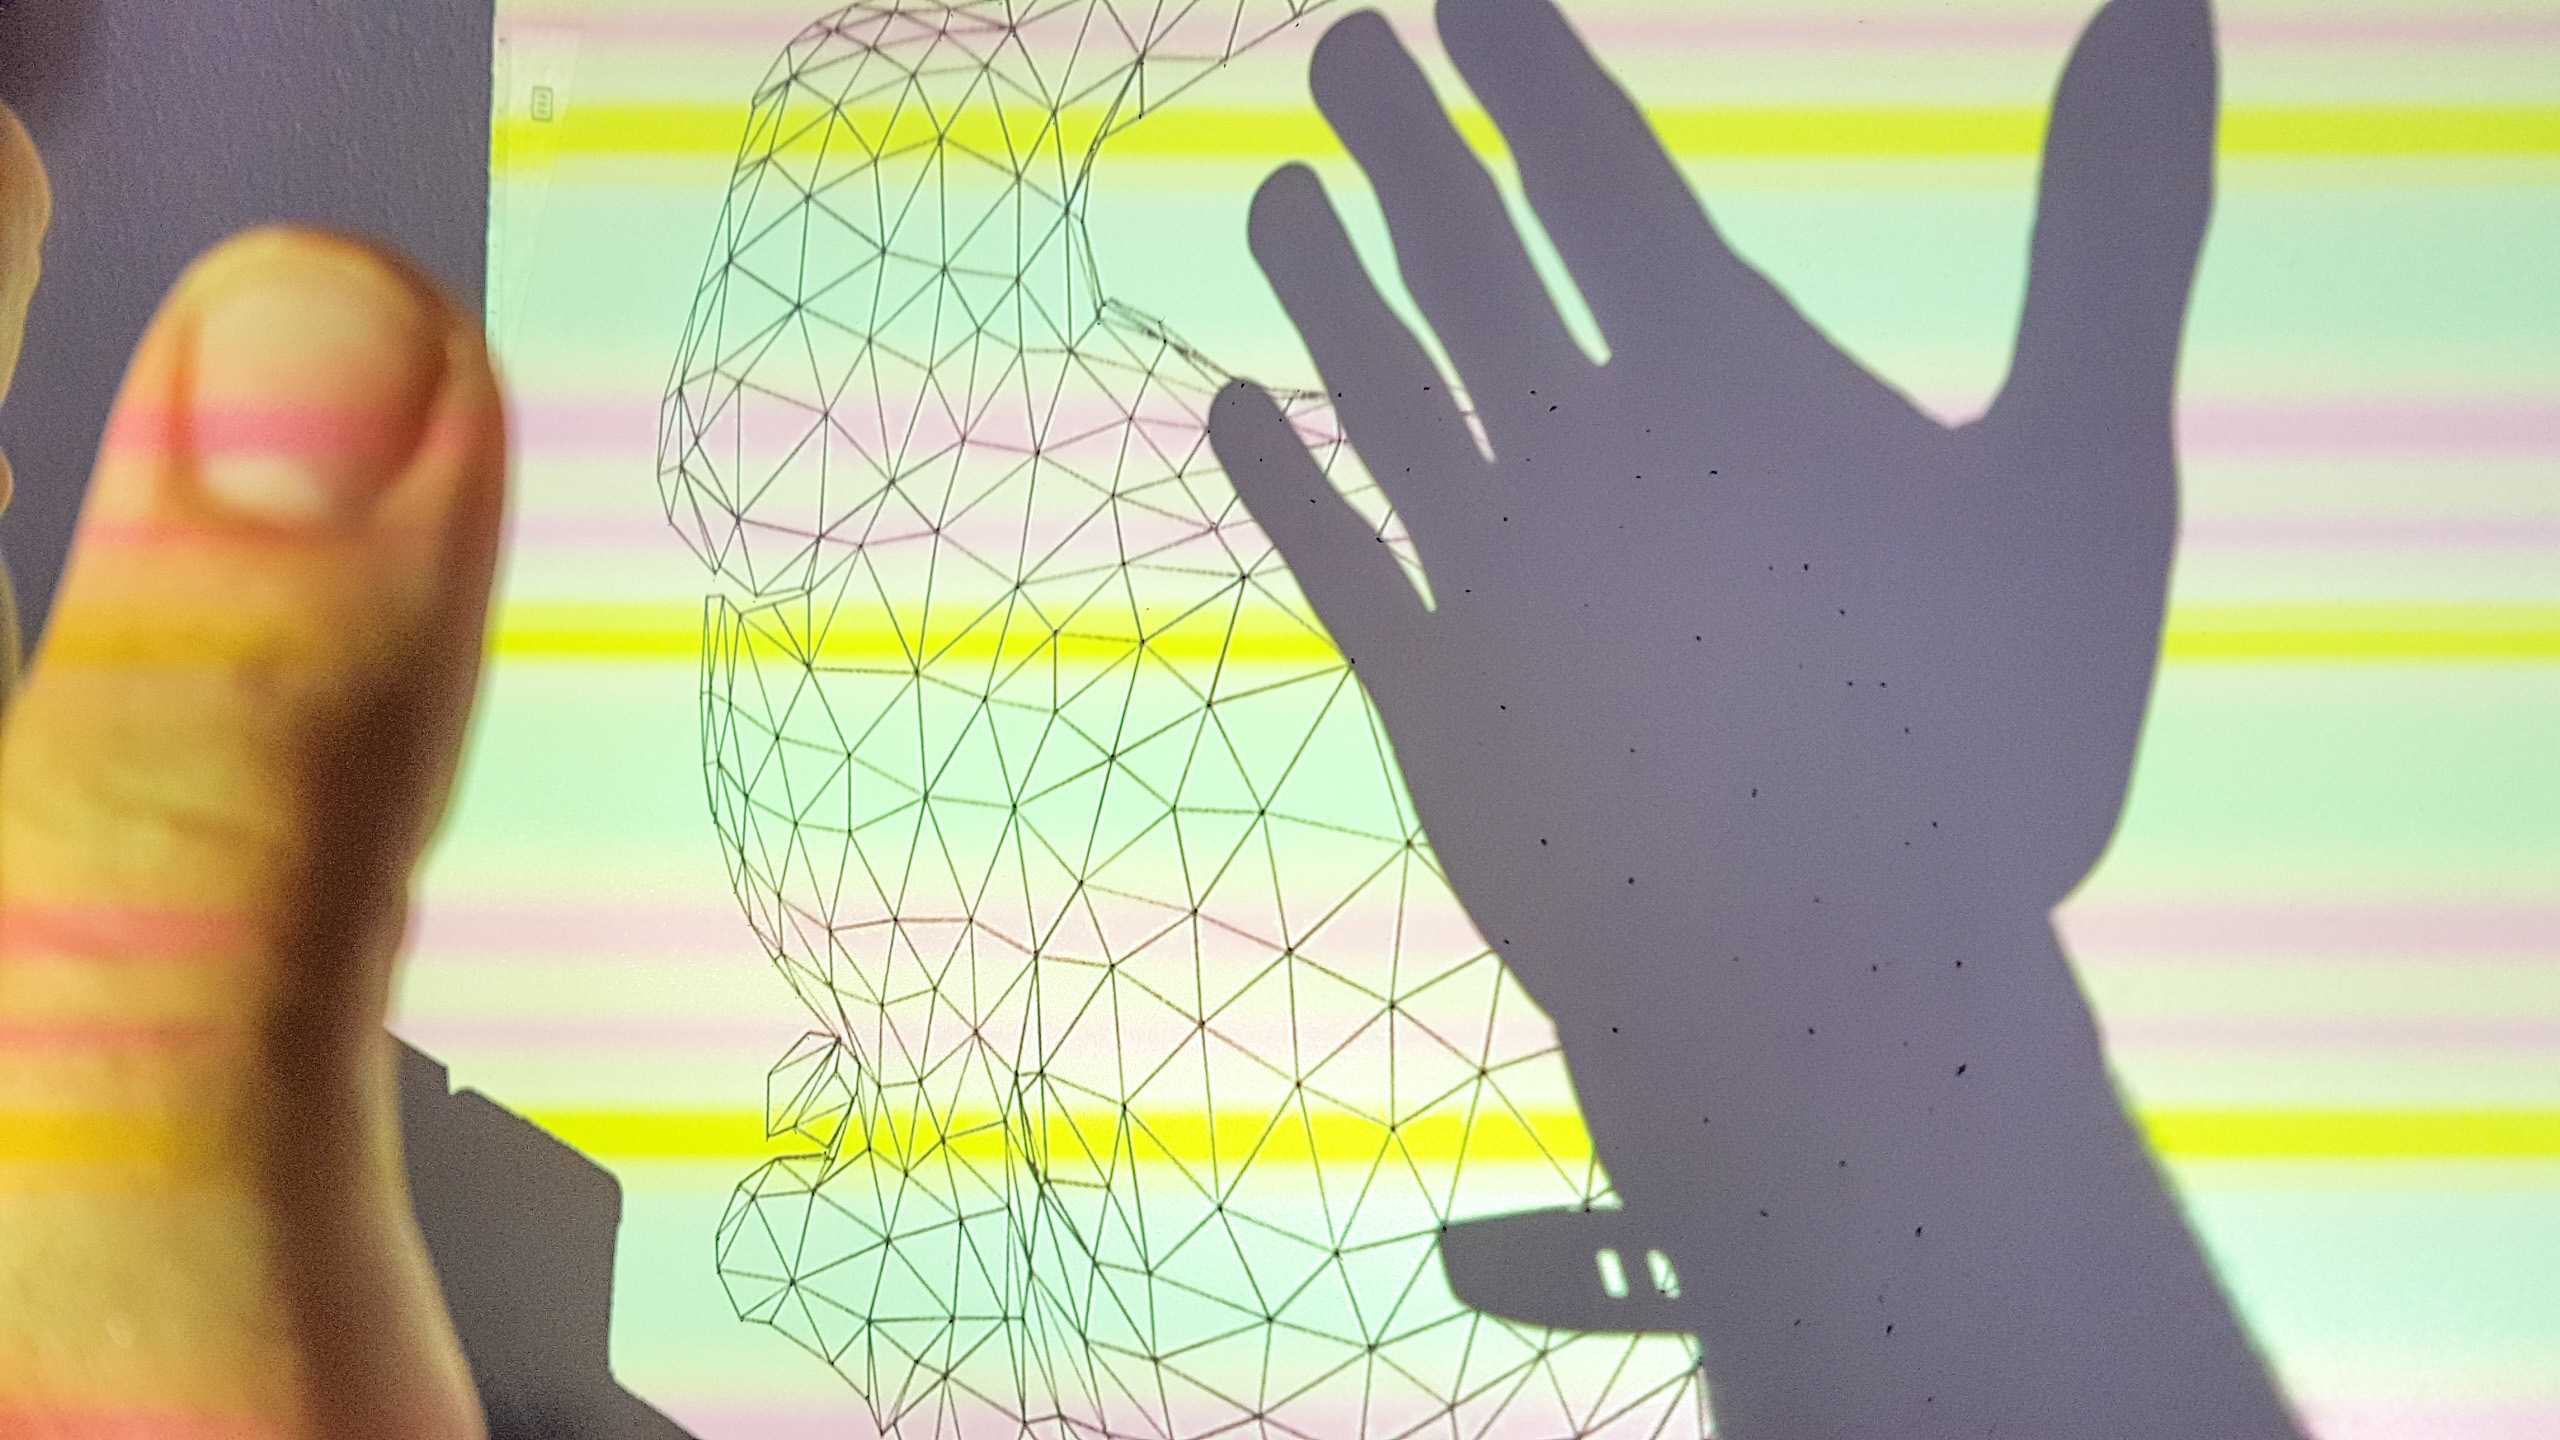
Projecting and marking the dots before drawing the lines.
Final Result

Why?
Why not?